
We Are Your Professional Quality Automotive Drive Shaft Source

- Up to 36 Months Unlimited Miles Warranty
- ASE Certified Technical Support
- Five Shipping Warehouses
Southern California, Texas, Ohio, Illinois, and Virginia
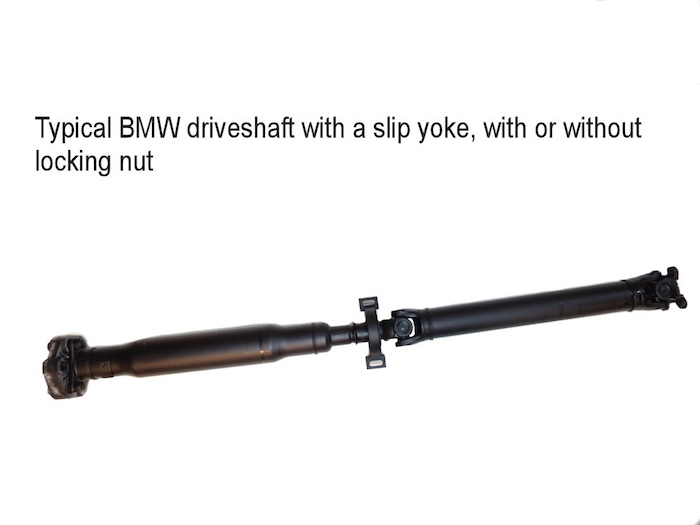
How to Replace BMW Driveshaft Center Support
This remove and Install guide is a simple step by step instruction with pictures that will show you the correct replacement of a driveshaft center support on a rear BMW driveshaft. The following pictures are of a 325IX 2004, however most 3 series and X3 have the same setup with some have locking nut at the slip yoke and some have just a boot instead.
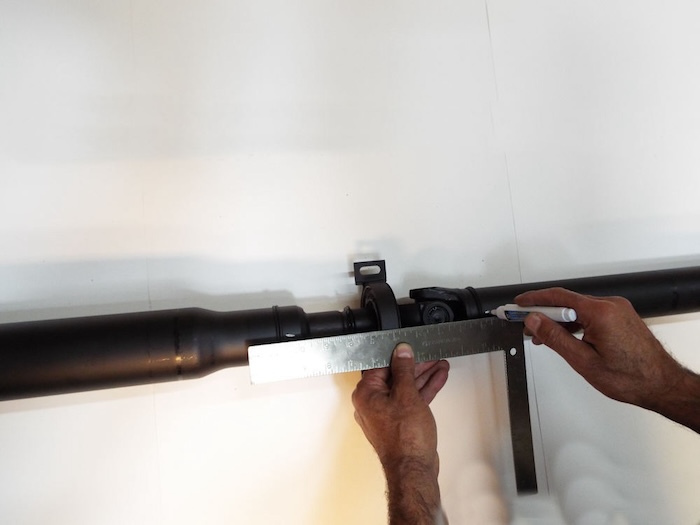
Start by marking the two halves of the driveshaft with good solid marks that will not smear. ![]()
For driveshaft with a boot in the middle, just pull the boot to loosen it up on one side.
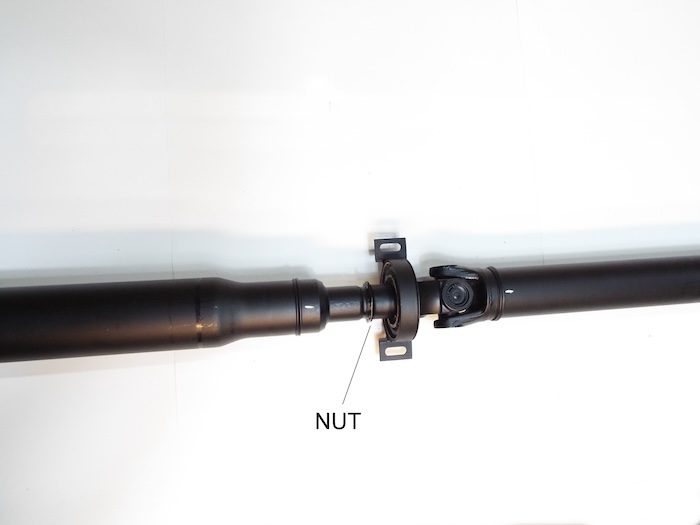
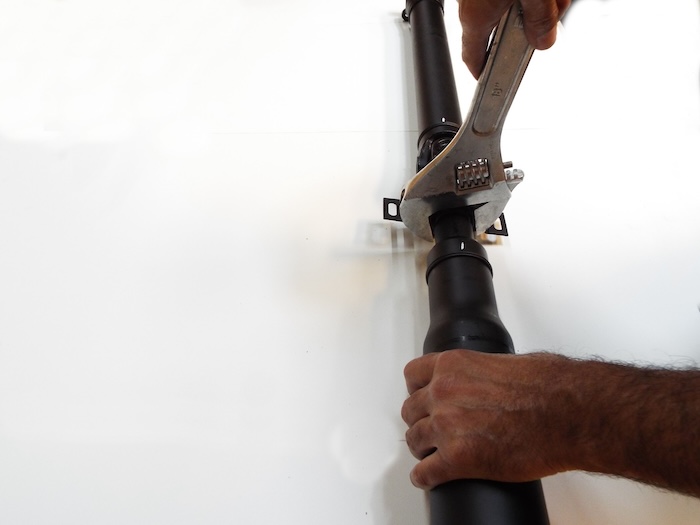
Driveshafts with locking nut in the middle, you will need to loosen it using a large wrench. ![]()
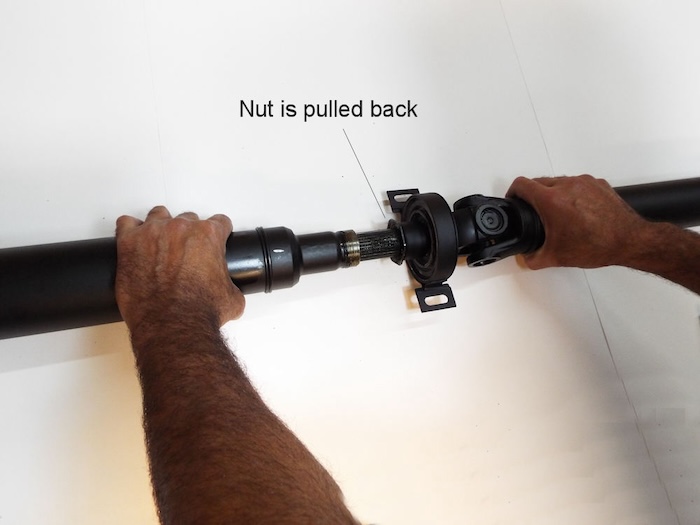
Loosen the slip yoke nut using a crescent wrench. ![]()
Pull no more than 3”. ![]()
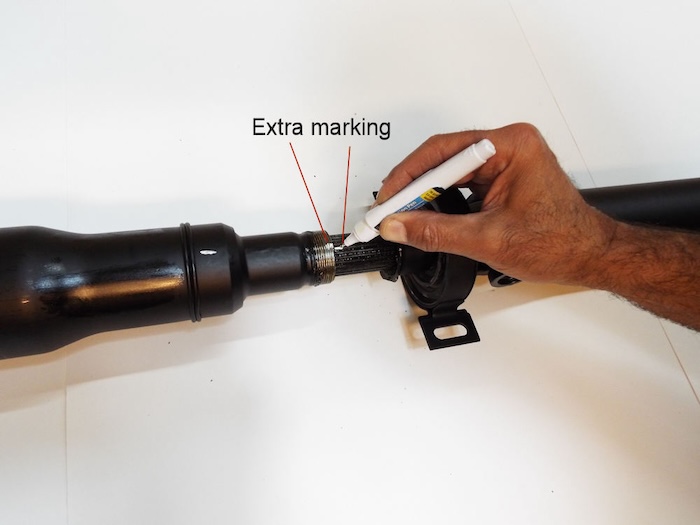
Add additional marks on the spline in straight line with the other marks, this will help you during assembly. ![]()
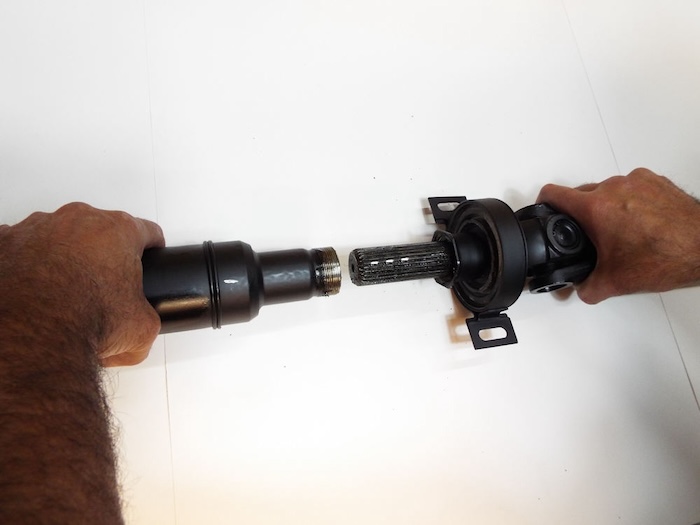
Separate the two halves of the shafts. ![]()
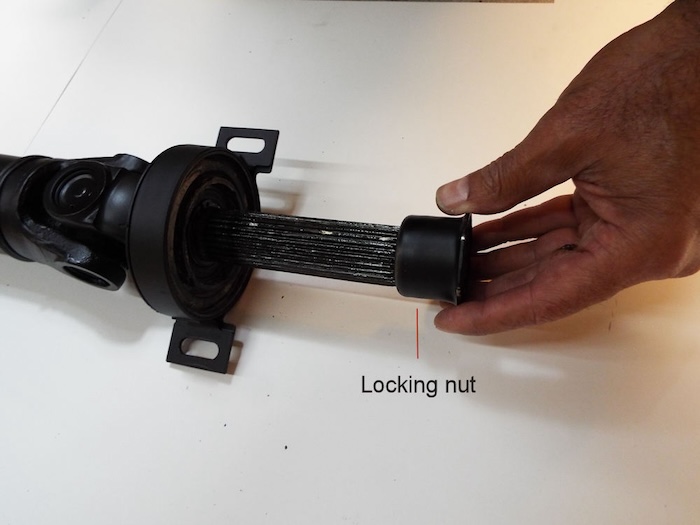
Remove the locking nut and add more marks on the spline closer to the tip. ![]()
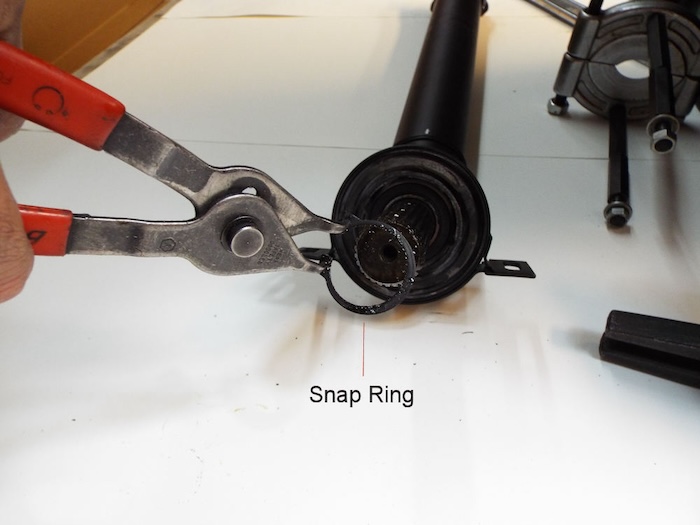
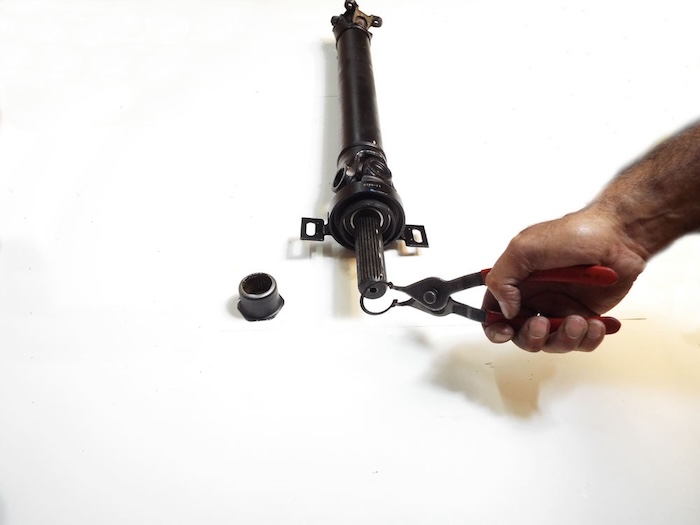
Remove the snap ring in front of the center support. It is a good idea to put an directional mark on top of the support bracket pointing toward the second shaft tube so you will install the support correctly. ![]()
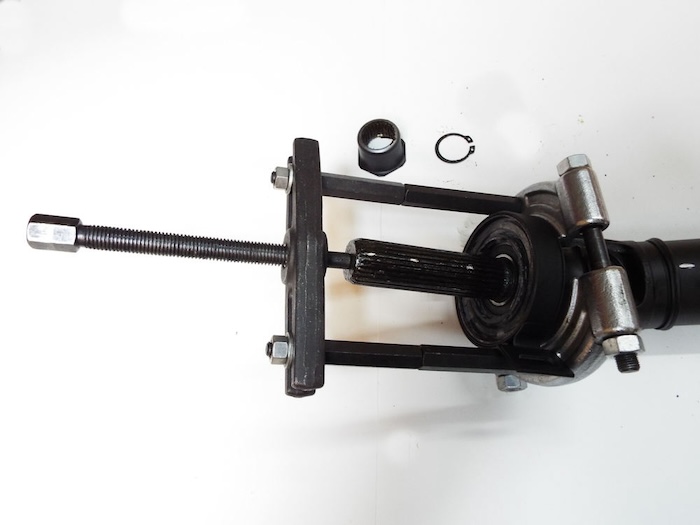
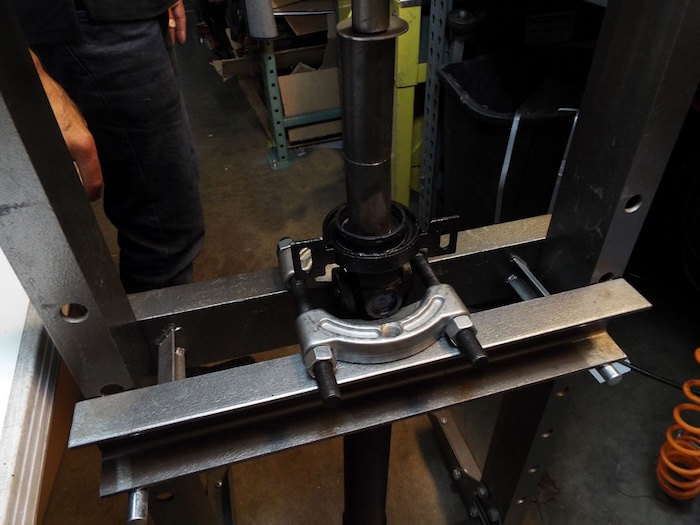
Install a puller behind the support. ![]()
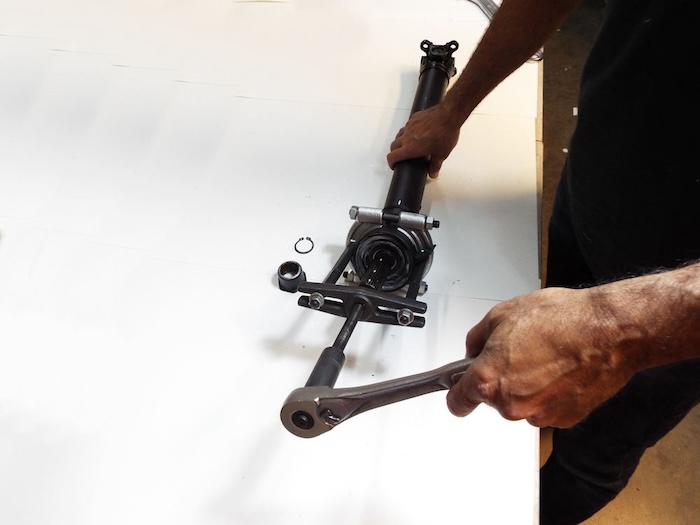
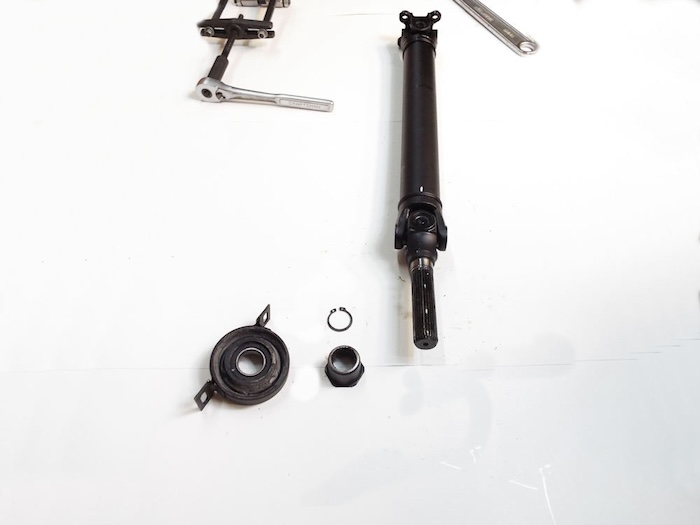
Remove the support using the puller. ![]()
Use a 2.5” OD/2.25” ID Pipe as a tool to drive the new driveshaft support in. ![]()
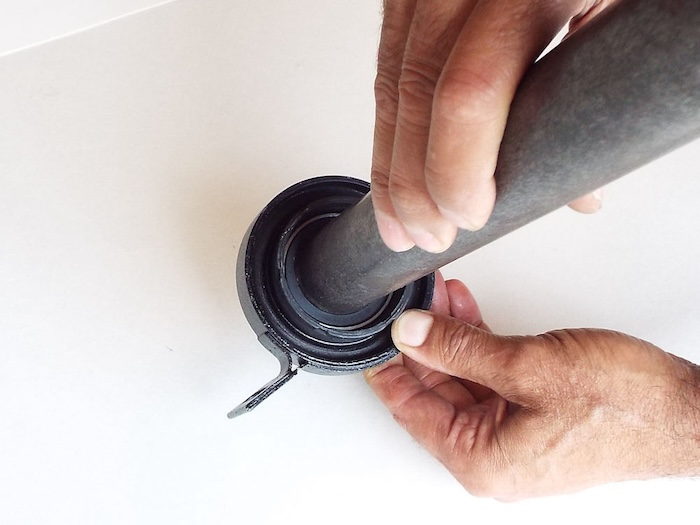
To install the support, you can use a press, be careful not to damage the seal.
You can also use a hammer on the pipe to push the bracket in. ![]()
You can also use a Hammer to drive the bearing in. ![]()

Make sure the bearing is pushed all the way against the wall of the shaft. Install the snap ring into the groove in front of the bearing. Install the slip yoke nut. ![]()
Line up the two driveshaft pieces using the marks and push the two pieces together. ![]()
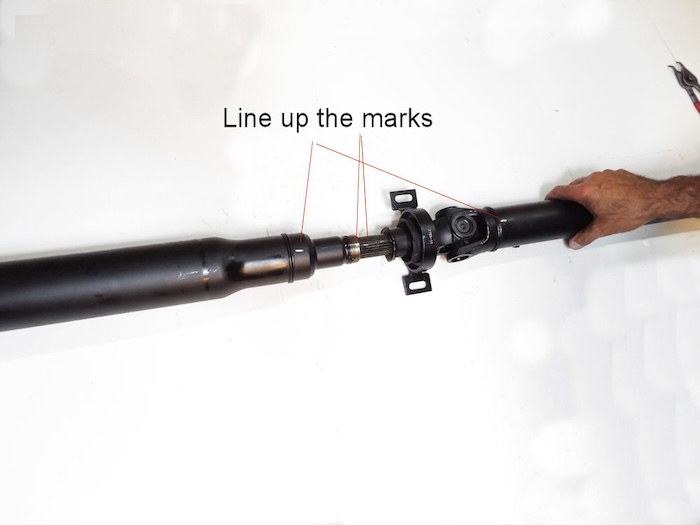
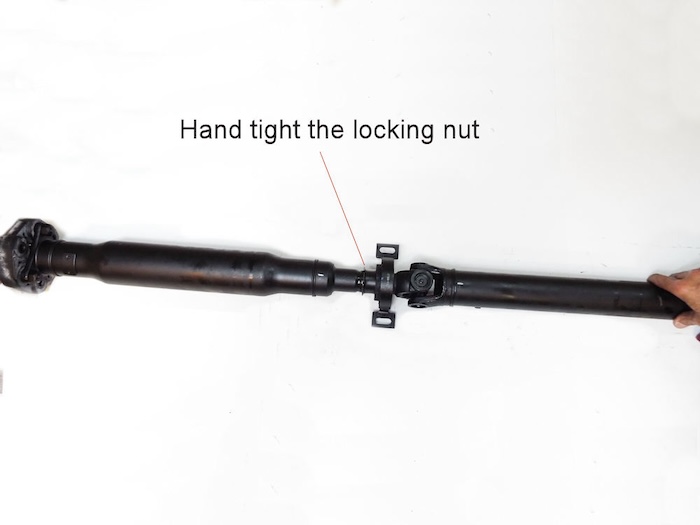
Screw the nut back but do not tighten much, since you will need to install the shaft first and then tighten the nut after (only 8 ft lbs). Make sure the marks are lined up perfectly or vibration will occur. ![]()
Tools needed for the job.
- Paint marker
- Large wrench
- Snap ring pliers
- Puller
- Pipe
Note: Automotive work is dangerous and should only be done by a qualified technician. This information is only meant as a refresher and a guide for an automotive technician to do the job correctly. Please exercise caution.